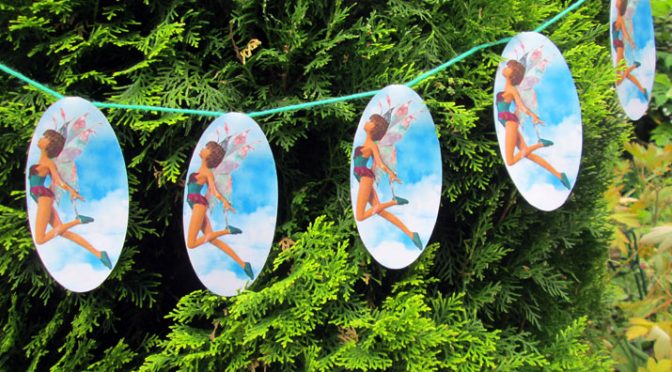
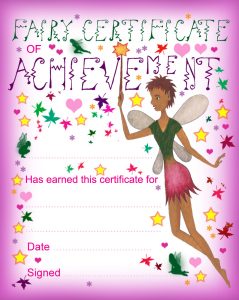
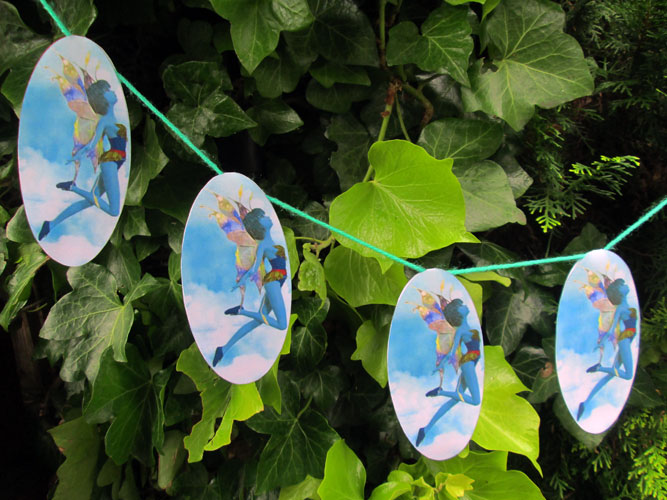
 For little ones who love fairies, these easy-to-make garlands are a great way to make a fairy party look magical. They also look great in bedrooms… where the fairies can watch over you all night long.
To make this decoration, you will need:

How to Make Your Summer Sky Fairy Garland:
STEP 1
Decide how many fairies you need for your garland, then print them by clicking the fairy pictures below. (Each one will take you to a pdf file of that fairy pendant – three per page.)
STEP 2
Cut around the oval cloudscapes containing the fairies, so that you can fold each one to make a double sided paper pendant. Tip: You might find it easier to fold each pendant over the string/wool before you glue the two halves together, so that you don’t have to thread it through.
STEP 3
Stick the two halves of each pendant together but only glue about half or two thirds of the blank side, leaving a nice wide unglued bit at the top for your string/wool to go through. This makes it much easier to rethread if you want to rearrange anything – you won’t have to fiddle about trying to force your string through a very small space! Finally, you might like to know that when we made ours, we found wool much better than string – it just seemed better at holding each fairy in place.
STEP 4
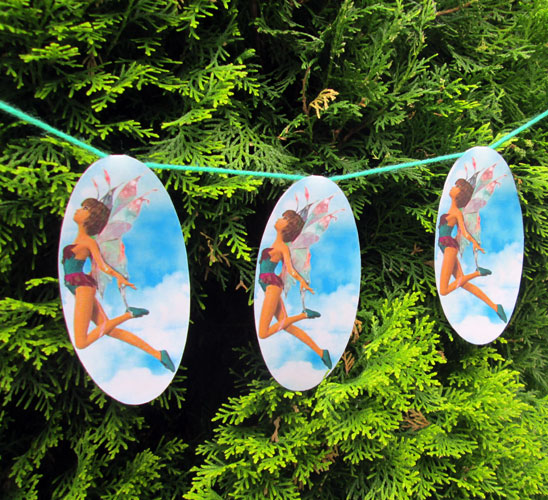
Hang your magical string of fairies anywhere in your home or garden. Well done! If they’ve turned out anything like ours it was worth the effort – and we hope your children enjoy them. A final tip: once the glue was dry we trimmed each oval to make sure there were no bits of white paper from the other side showing around the edges.

